
Estimated Time 1-3 Minutes
Create a Client
Add a new client and save their contact information in WorkProject HQ.
Needed Items Client or Customer's Details
Optional Items Additional notes or special instructions for clients
Adding a client keeps their contact information, notes, quotes, jobs, and invoices organized in one place.
1 - Open Clients
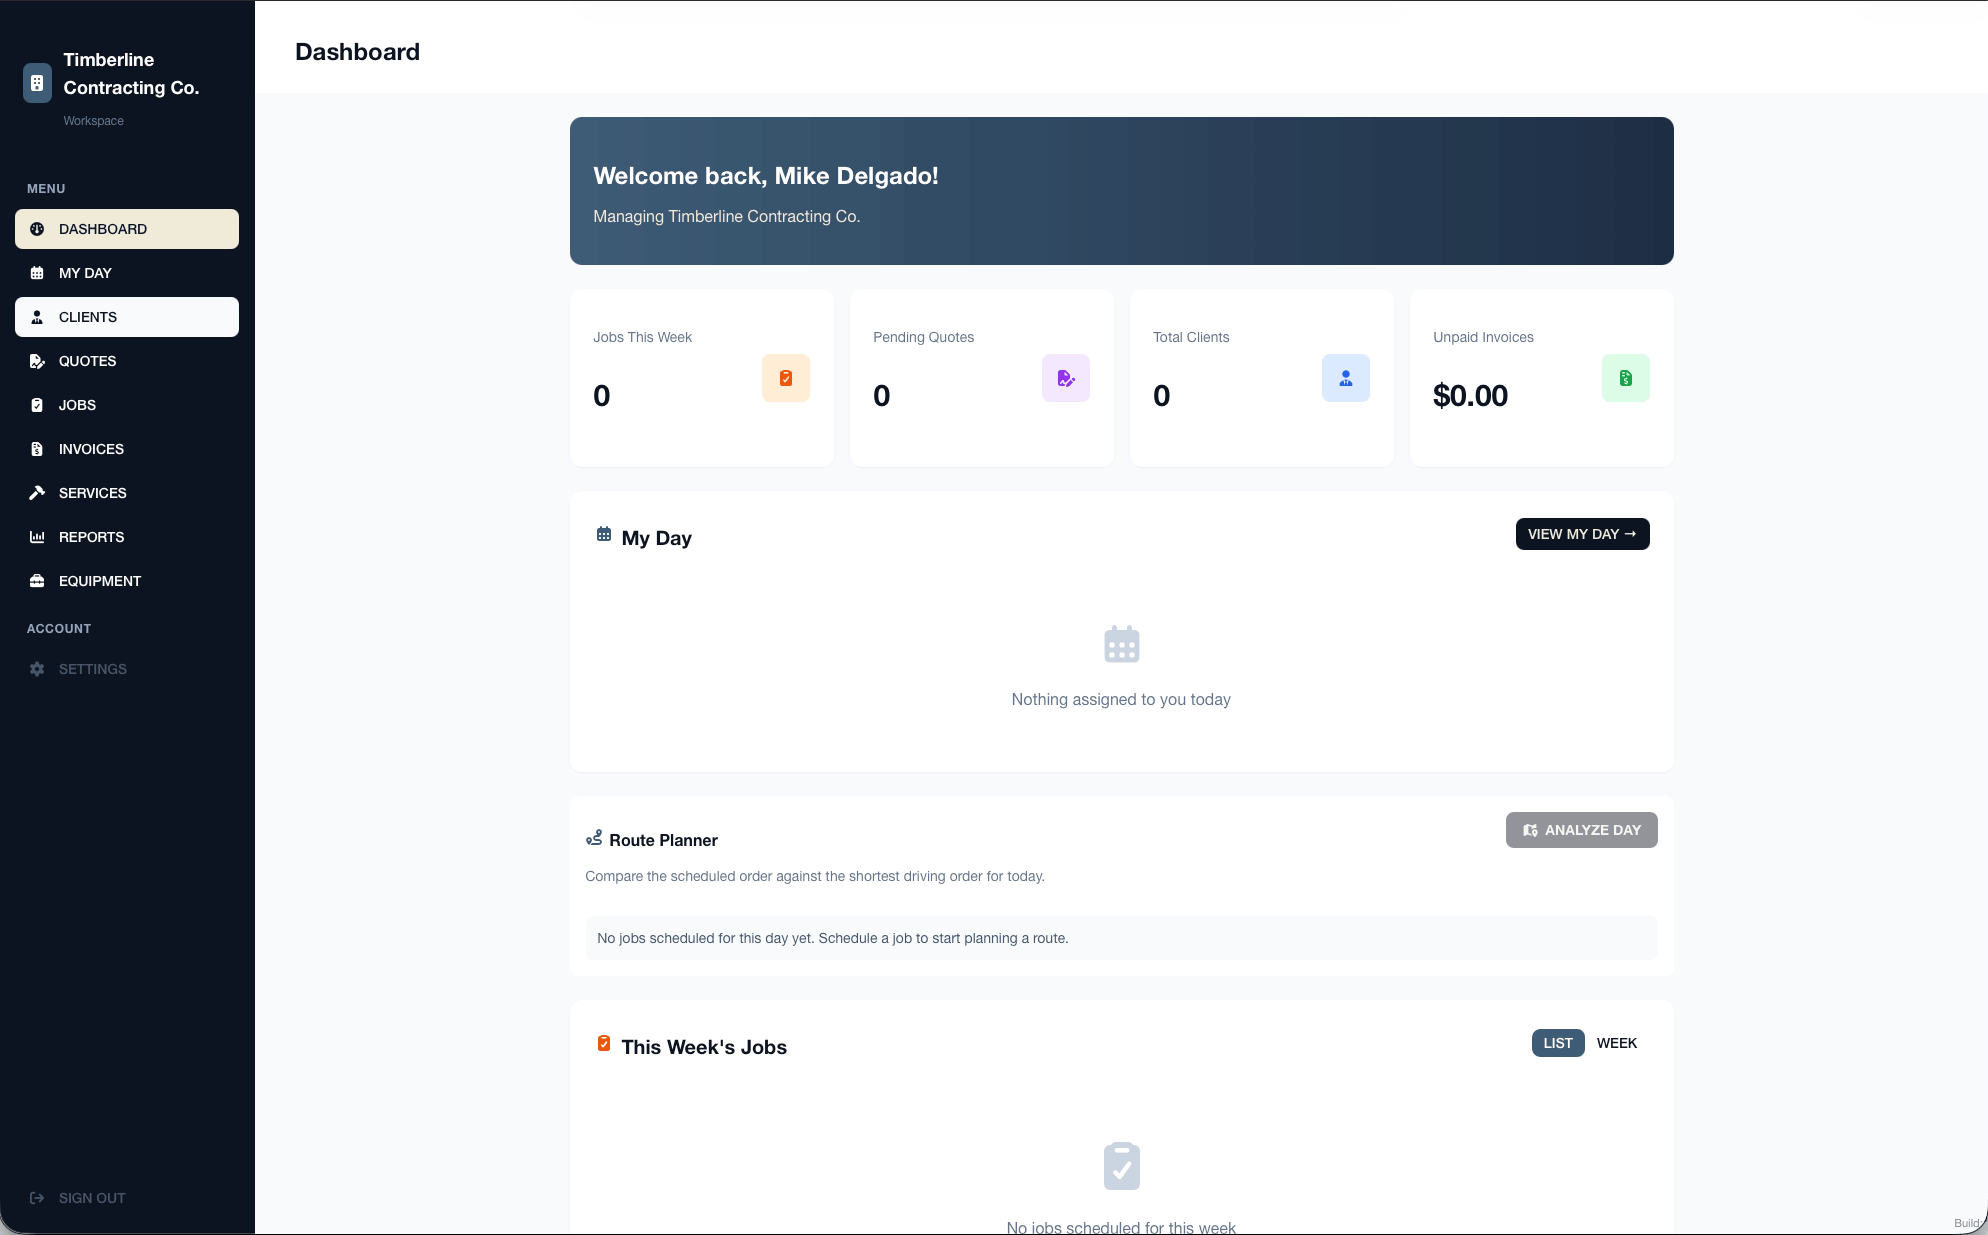
From the dashboard, select Clients in the left navigation menu. This opens your client list.
If you renamed this feature in your account settings, select your customized name instead, such as Customers.
2 - Select Add Client
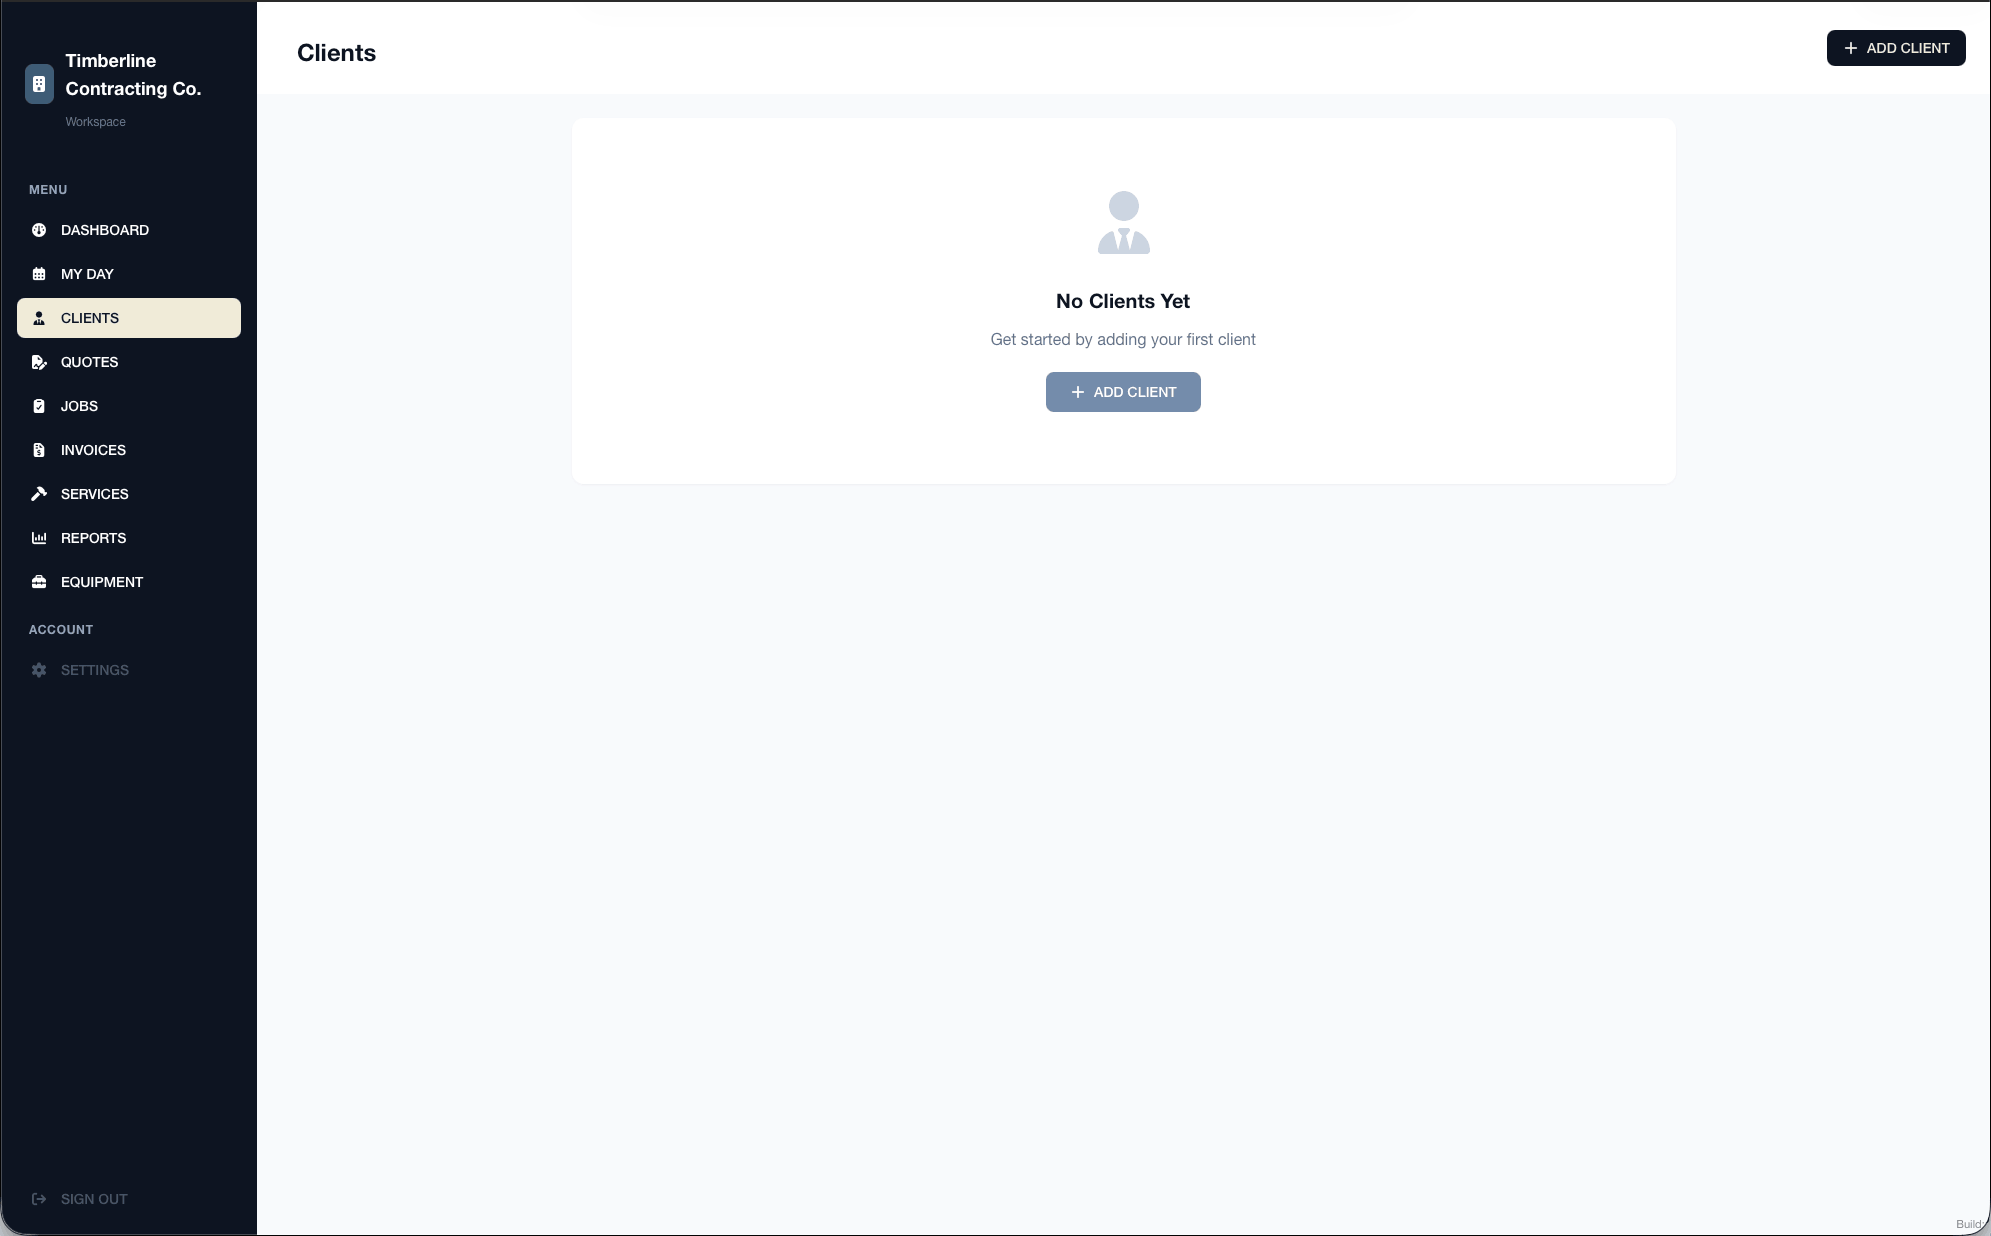
If you have not added any clients yet, select Add Client in the center of the page. You can also select Add Client in the upper-right corner.
If you customized the name of this feature, the button will display your chosen term instead.
3 - Enter the client’s information
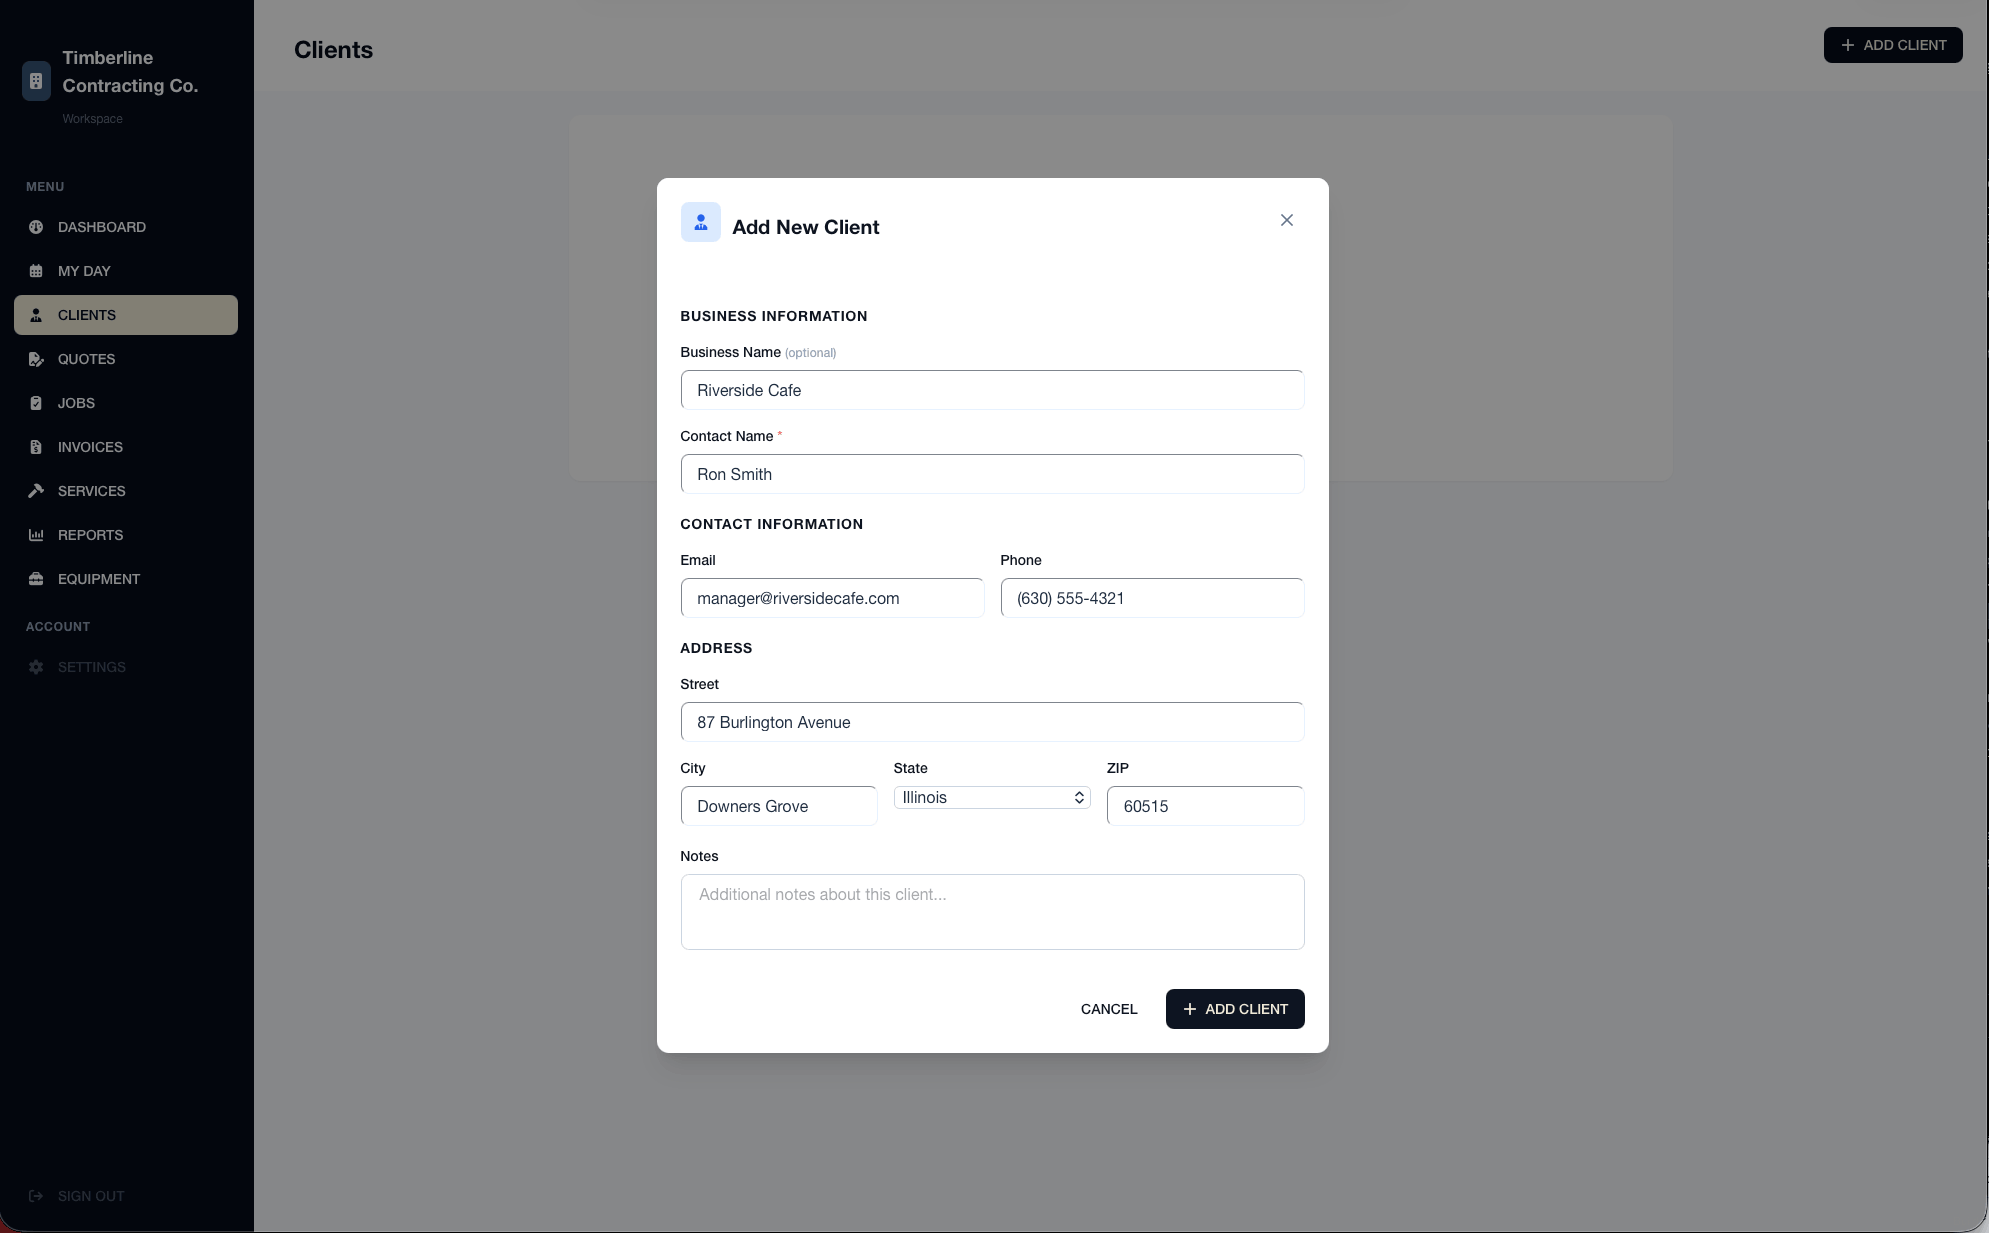
Enter the client’s name and any available contact information, including their company name, email address, phone number, and address. You can also add private notes or special instructions.
When you are finished, select Add Client.
4 - Client added
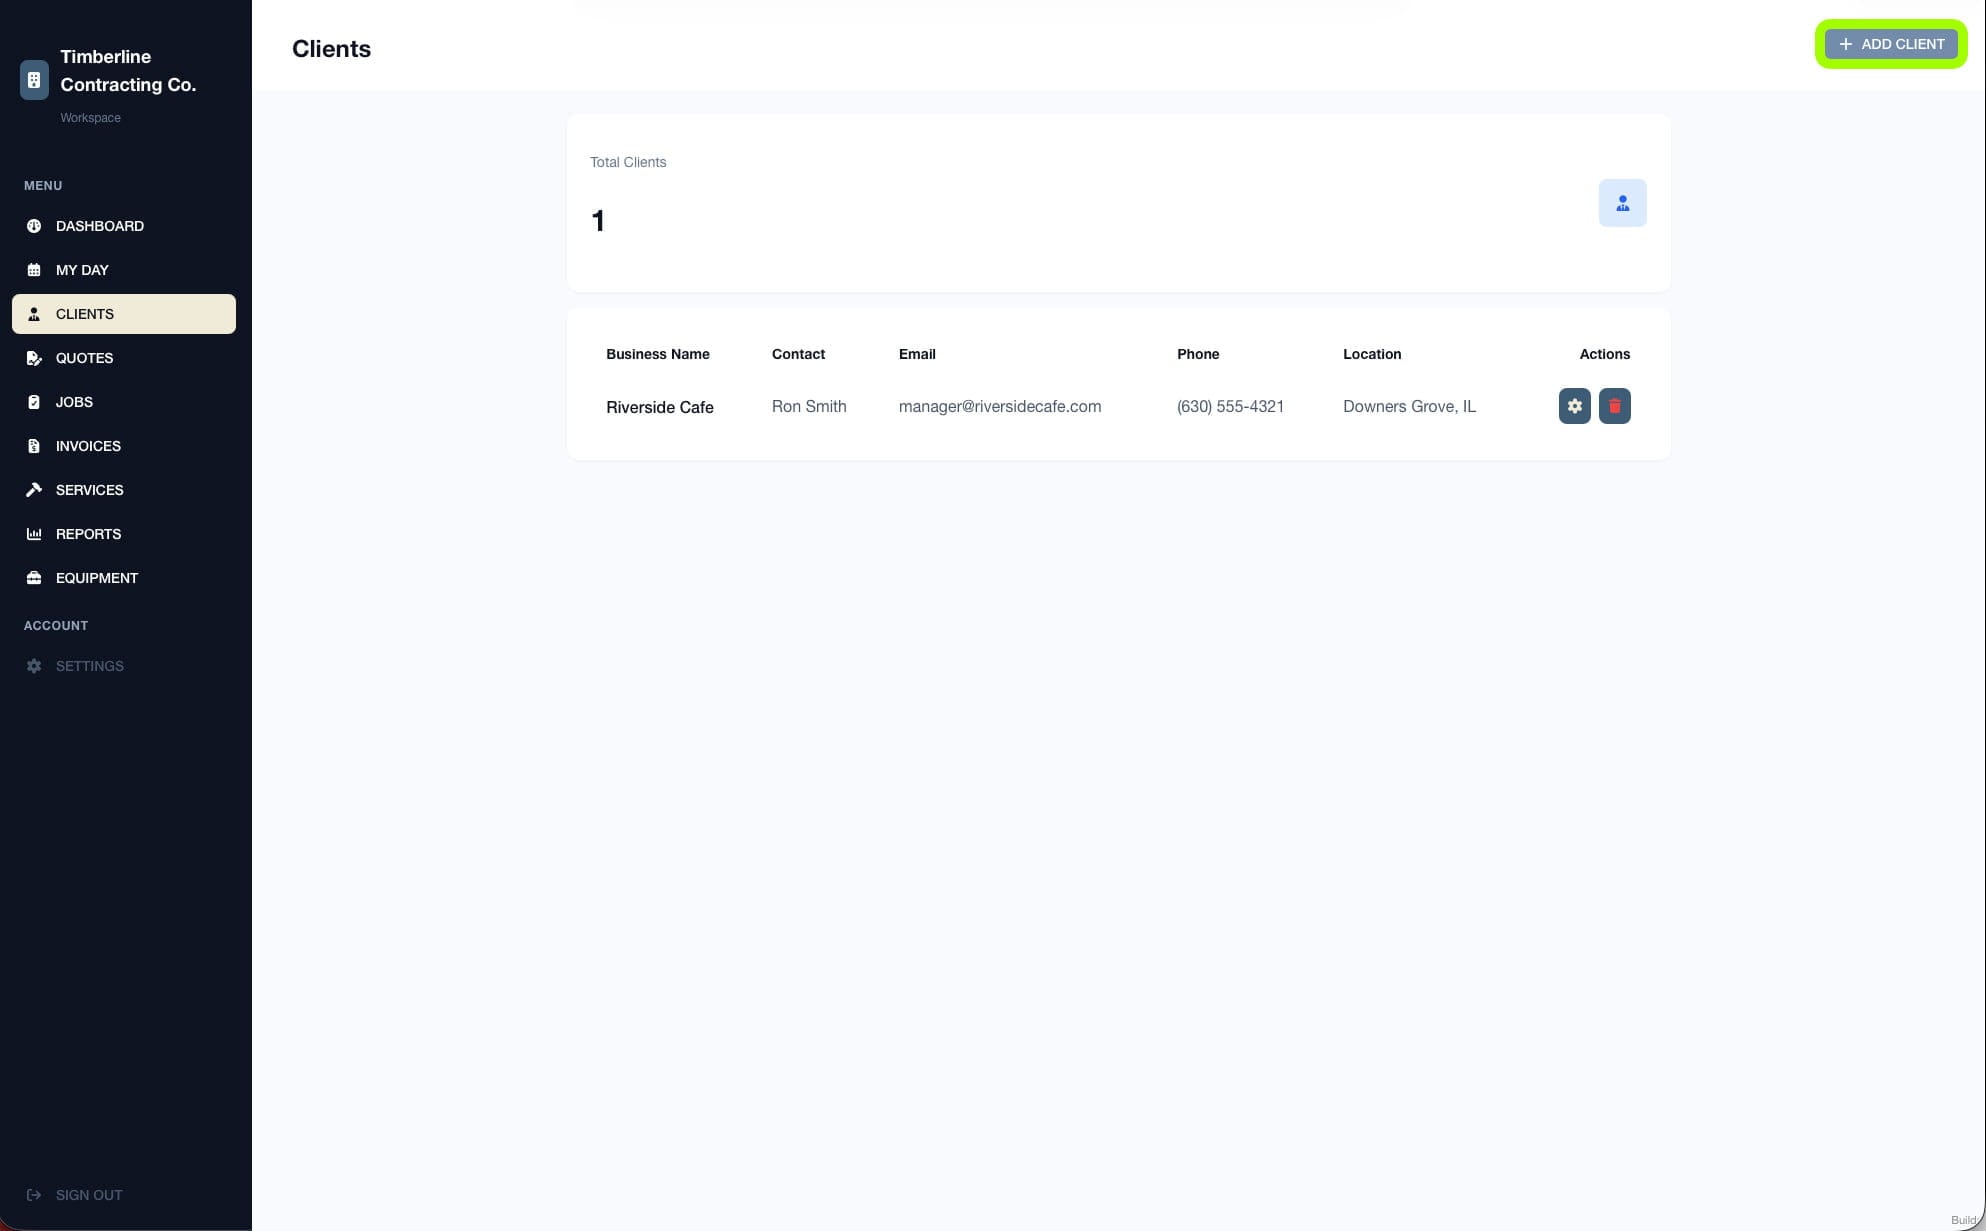
Your new client will now appear in your client list. To add another one, select Add Client in the upper-right corner.
Awesome!
You’re have added your first client.