
Estimated Time 5-10 min
Sign Up for an Account
Create your account, choose a subscription, and complete the initial setup.
Needed Items Contact information and a payment method
Optional Items Business logo, review links, and client CSV file
Follow these steps to create your WorkProject HQ account, select a subscription, and complete the initial setup. You’ll need your contact information and a credit or debit card. You can also add your business logo, review links, and an existing client list, but those items are optional.
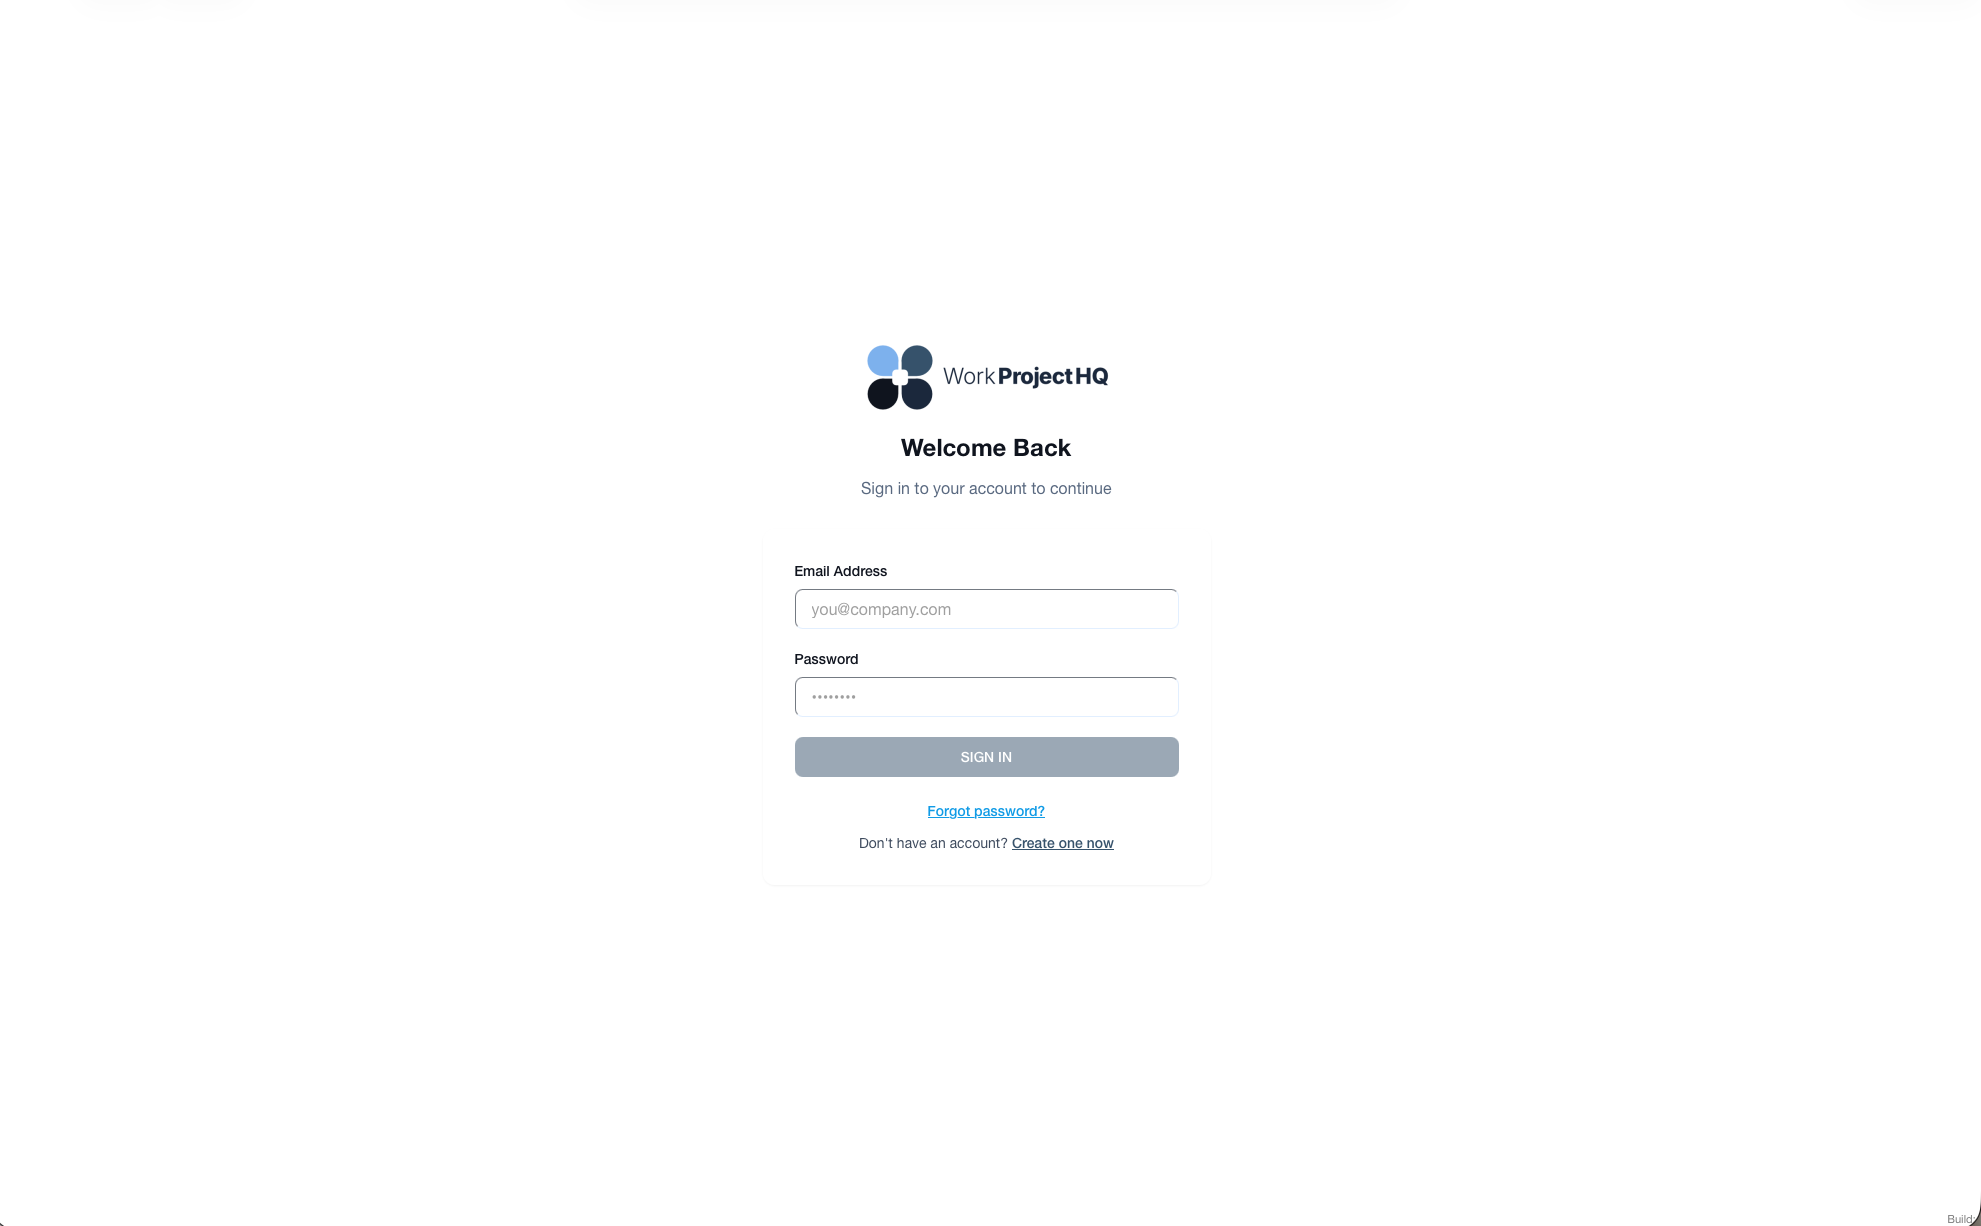
1 - Click Create One Now
Click the “Create One Now” link under the login link.
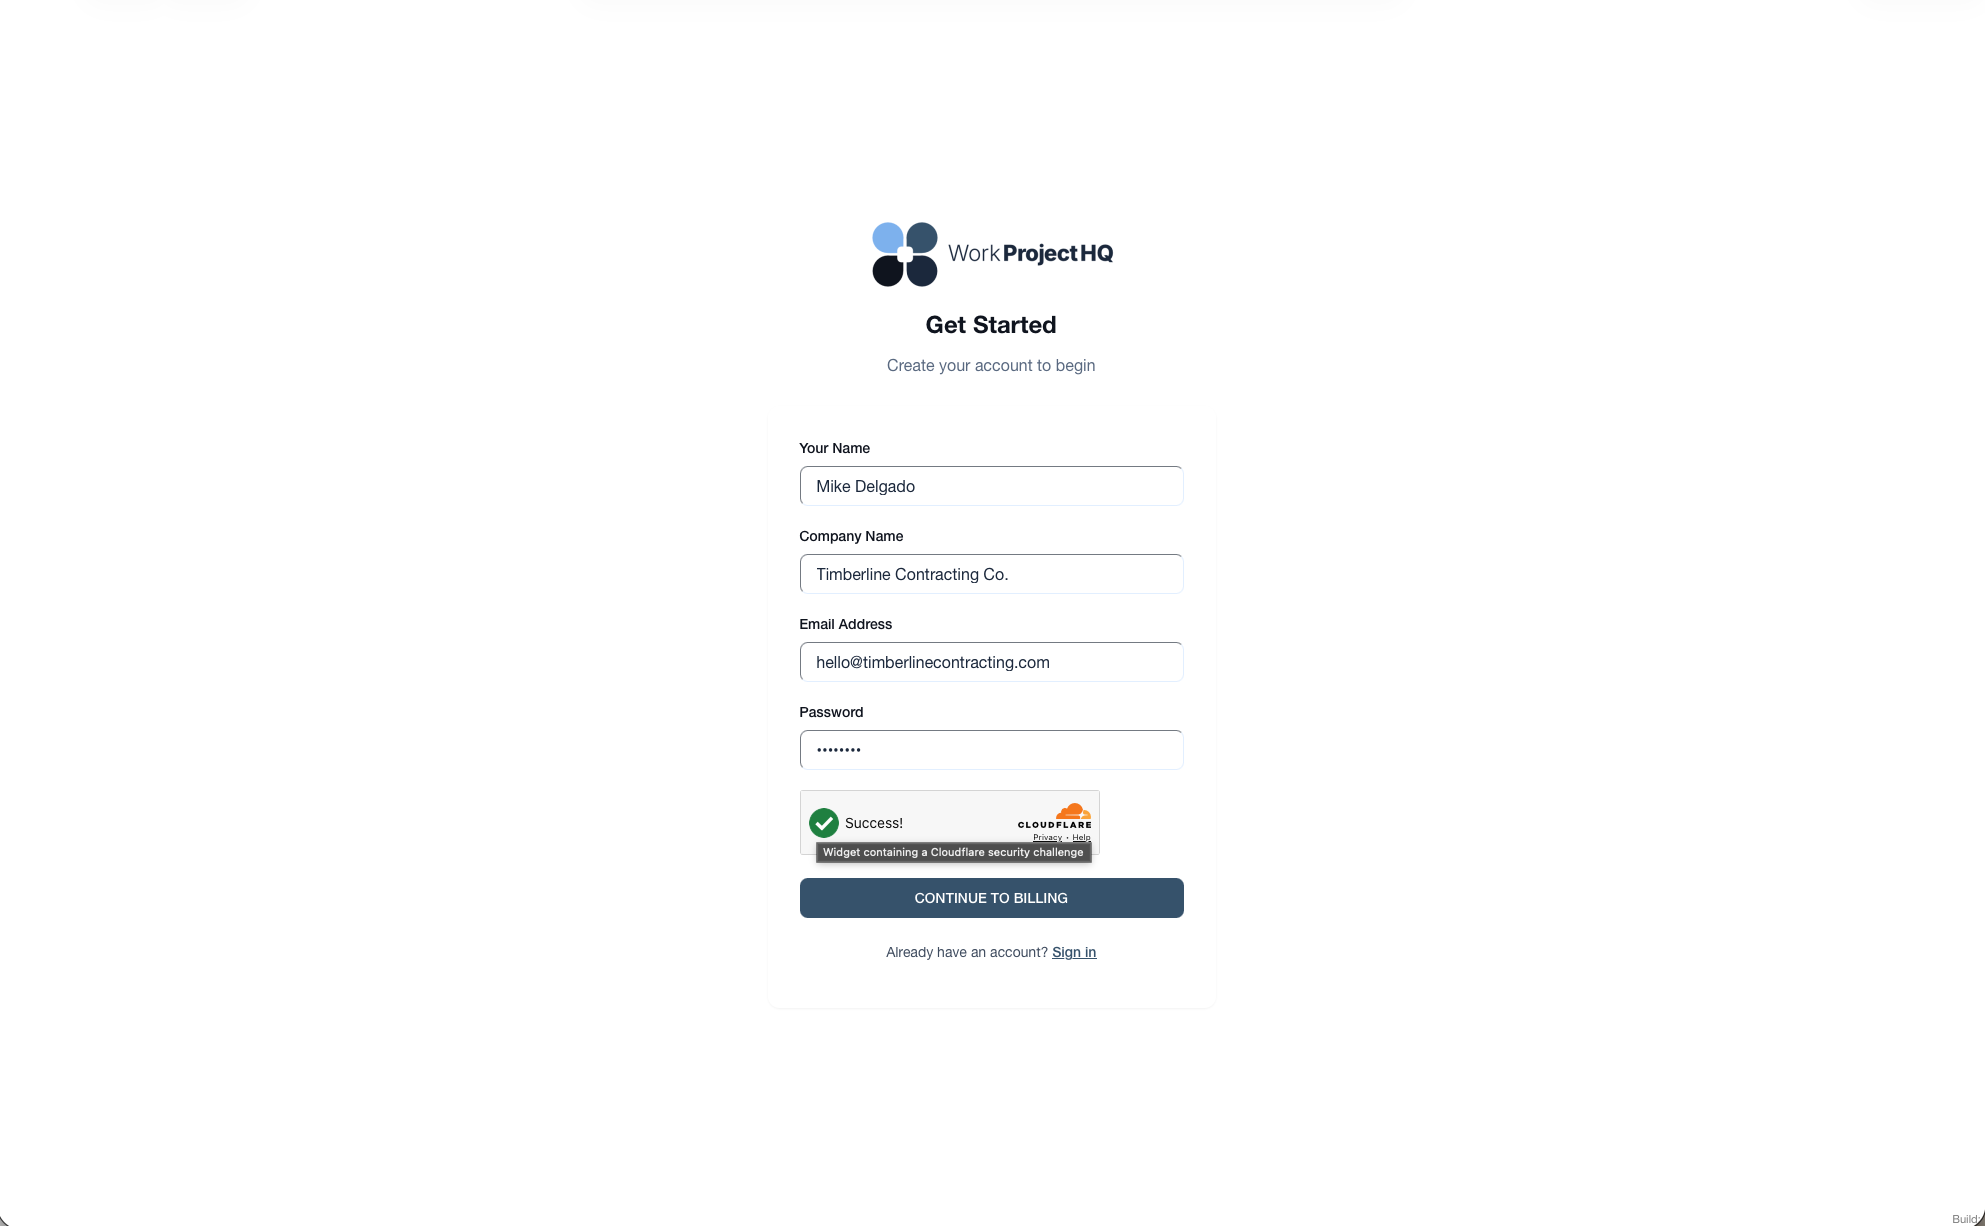
2 - Fill Out the Form
Fill out the form with your name, company name, email address and password. Then click “Continue to Billing”.
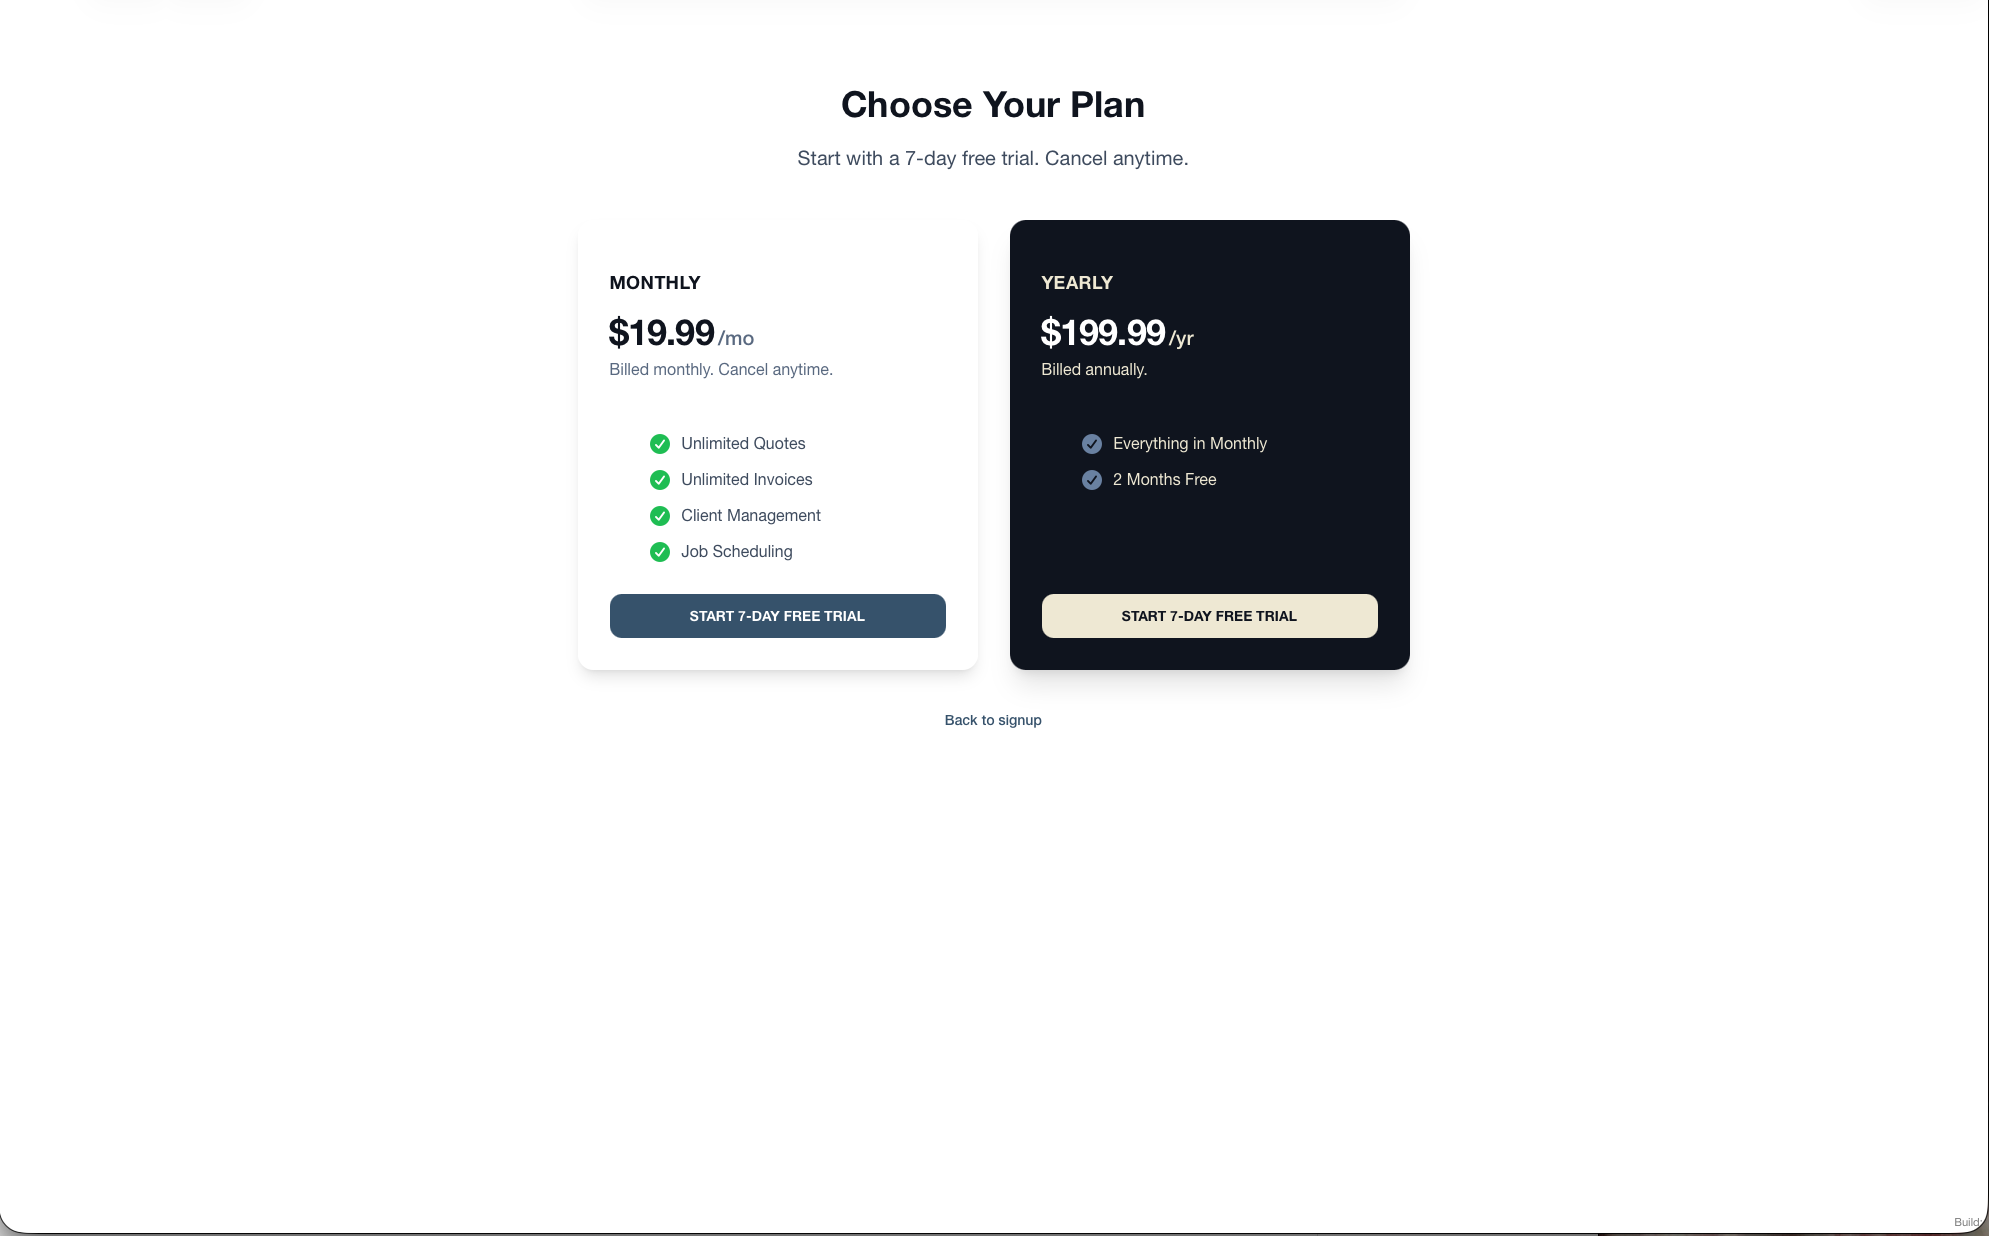
3 - Select Your Plan
The next plan allows you to select your plan. There is a month to month plan or a yearly plan. Signing up for a yearly plan allows you to save 2 months!
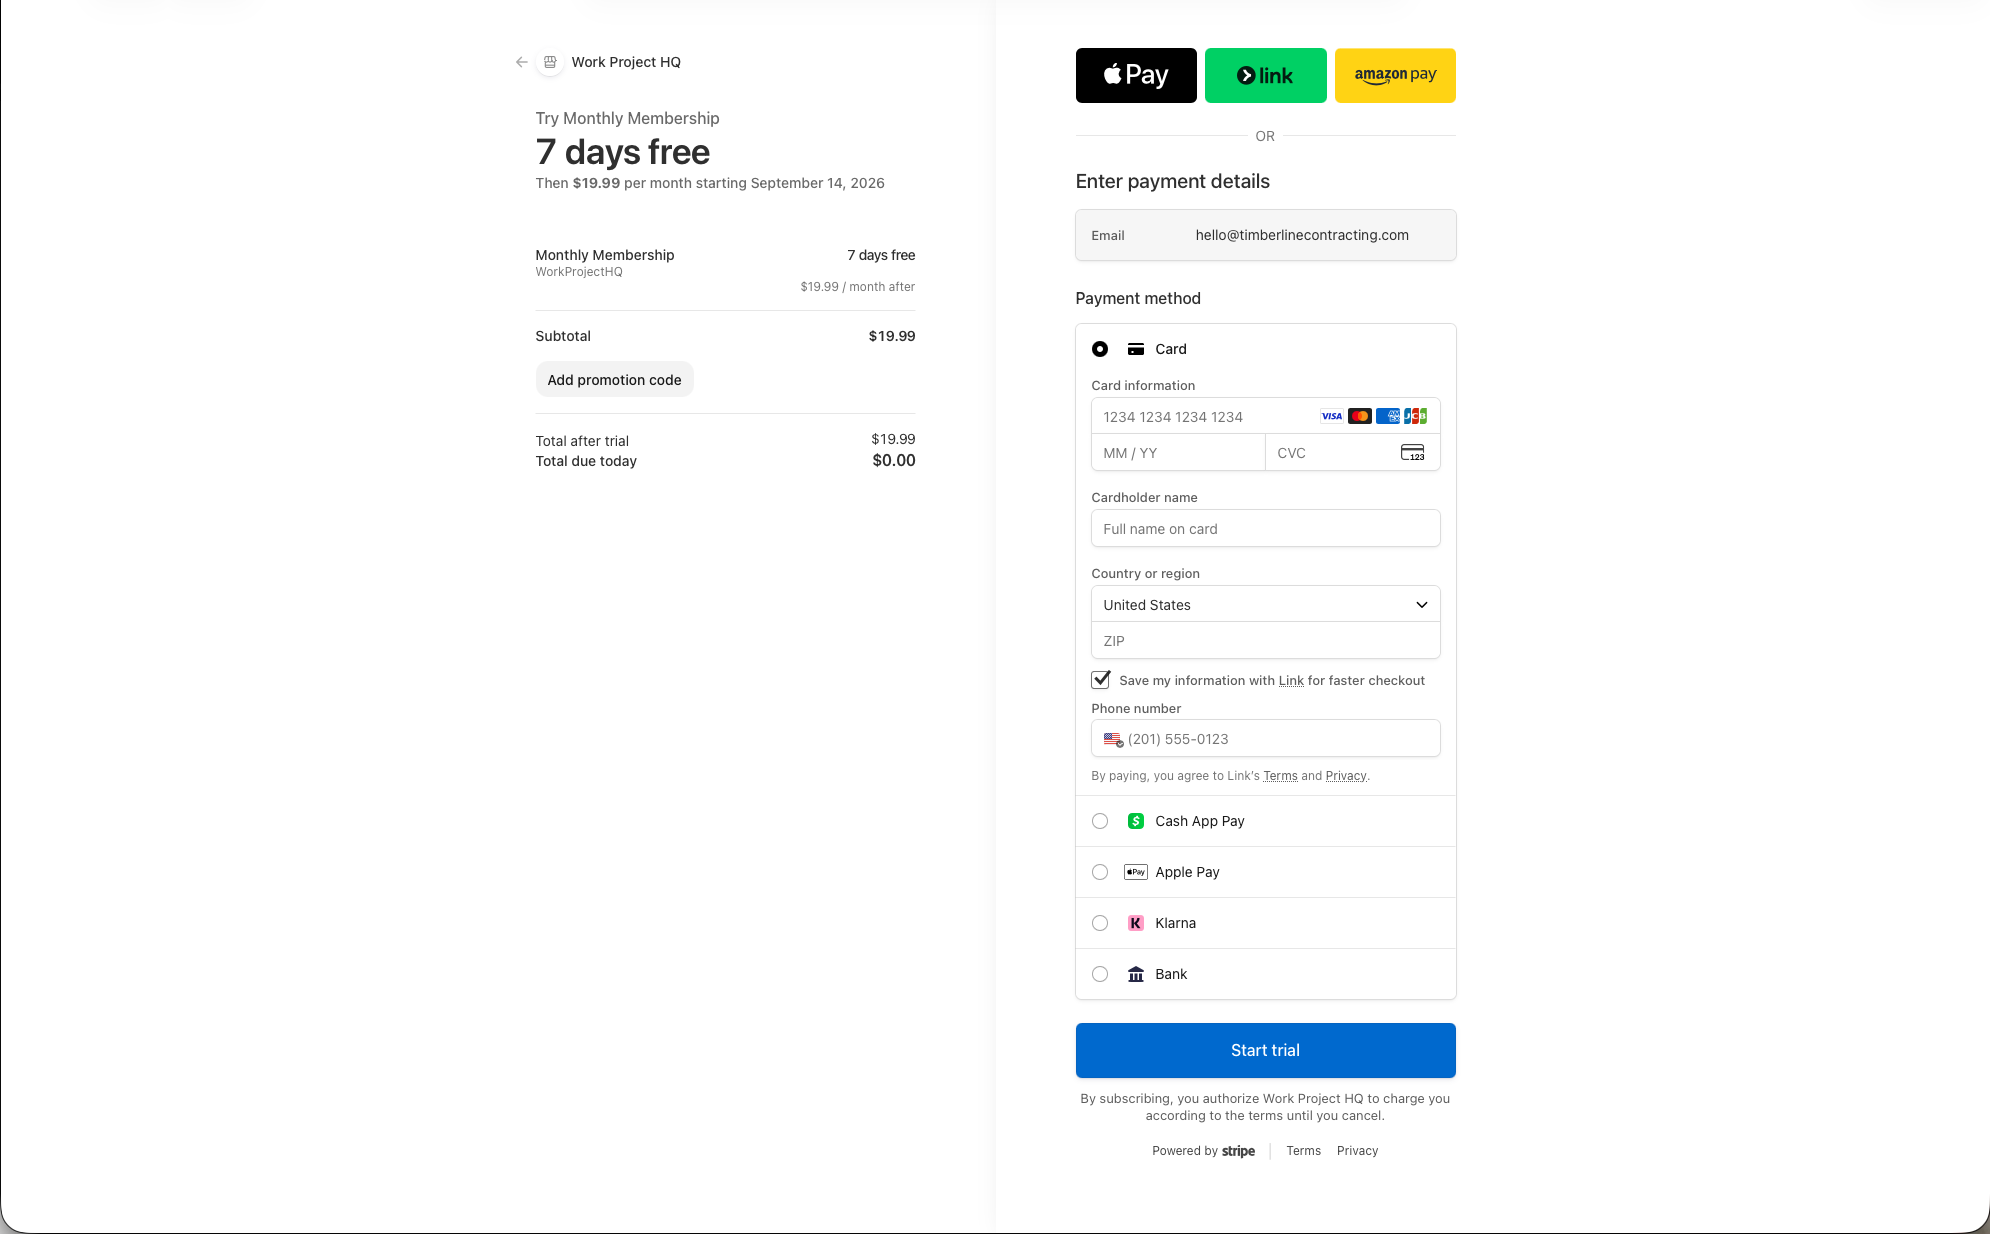
4 - Enter Your Credit Card Info
Enter your credit card info. You will NOT be charged until your 7-day trial is finished.
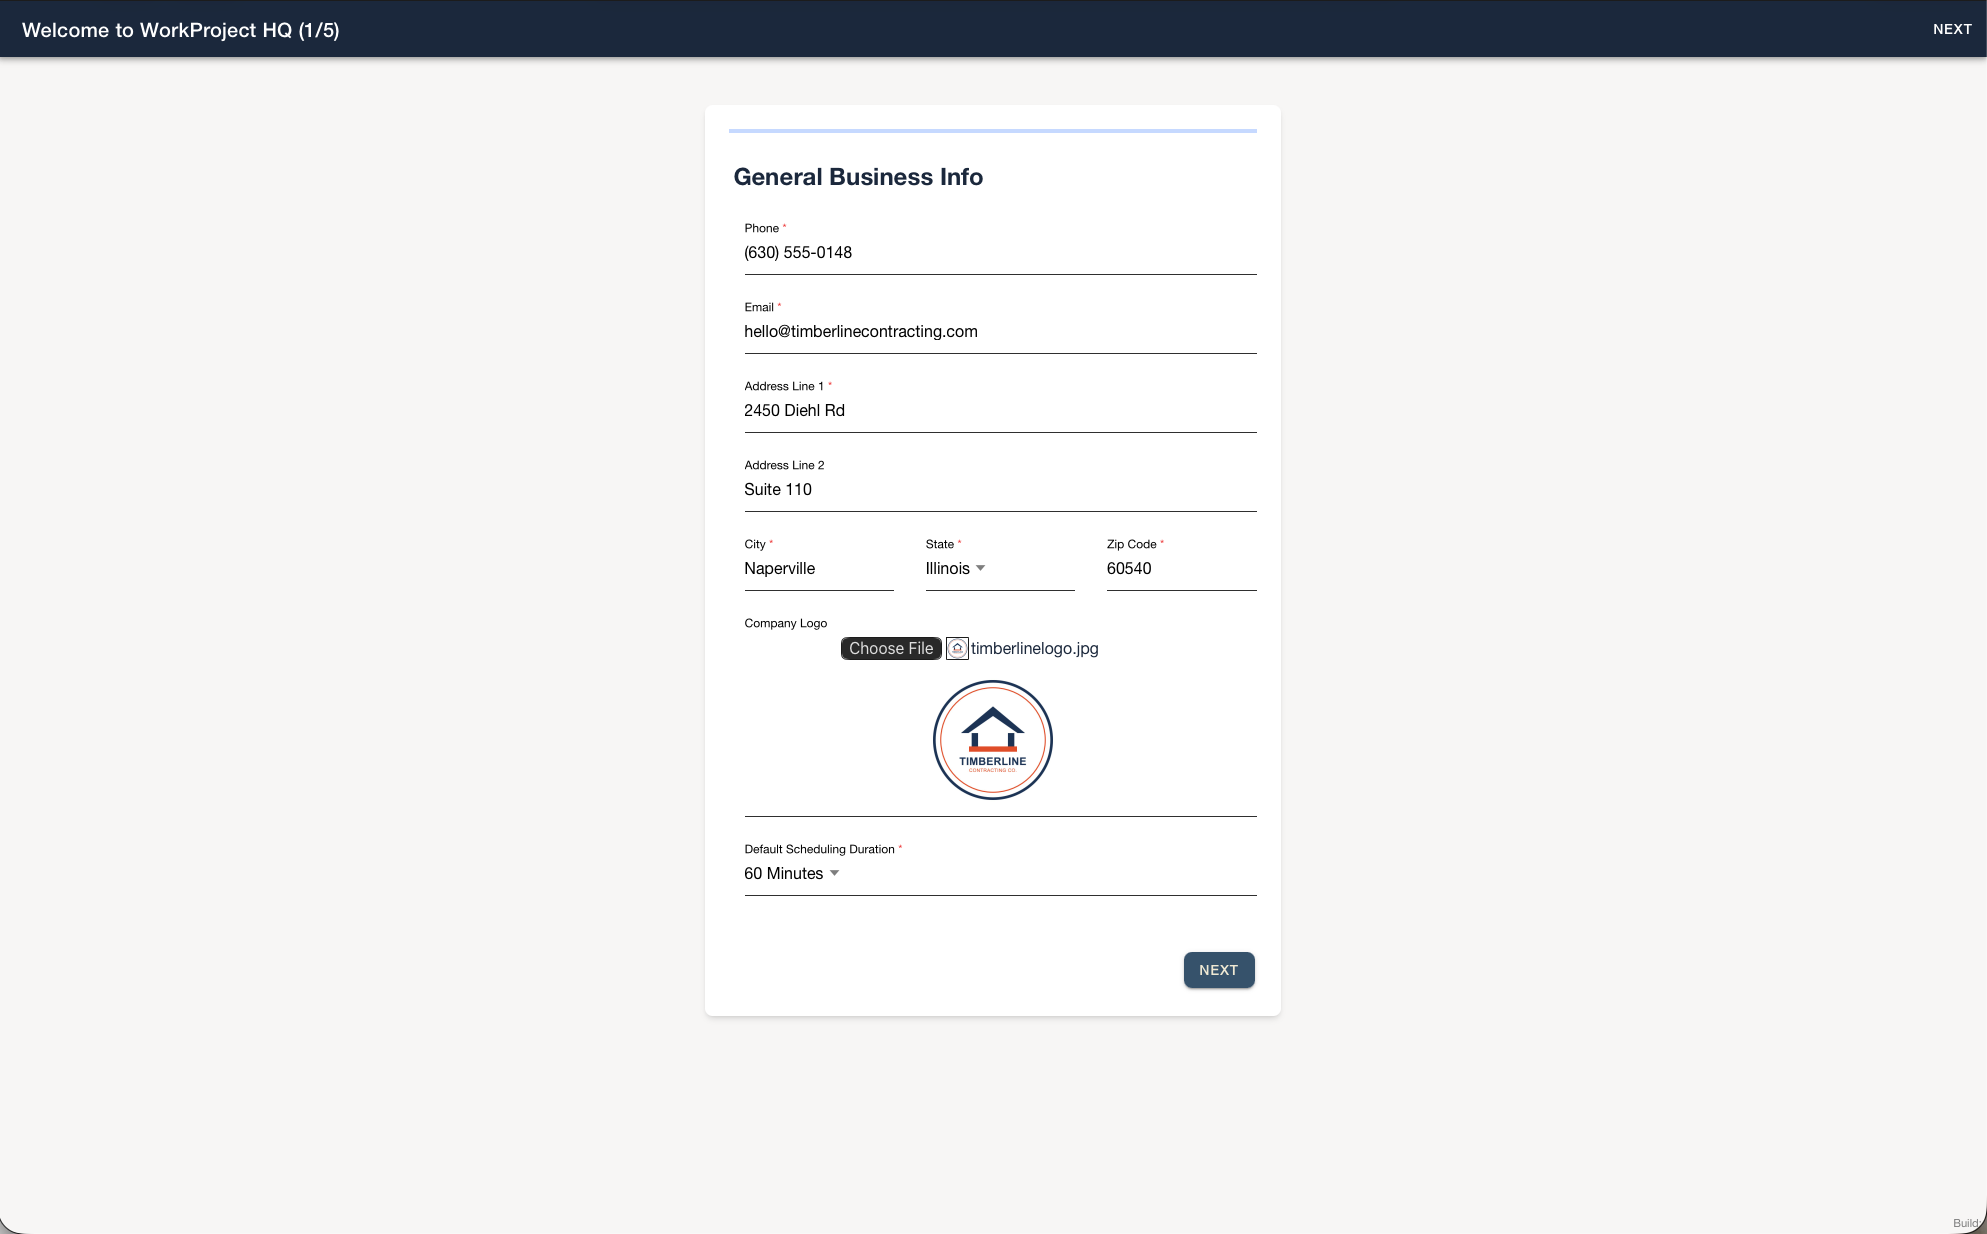
5 - Start The Set Up Wizard
Start the set up wizard. Enter your business details. Enter your business phone and email, address, and logo if you have one. Then you can select a general appointment length if you have one. If not, feel free to skip that question.
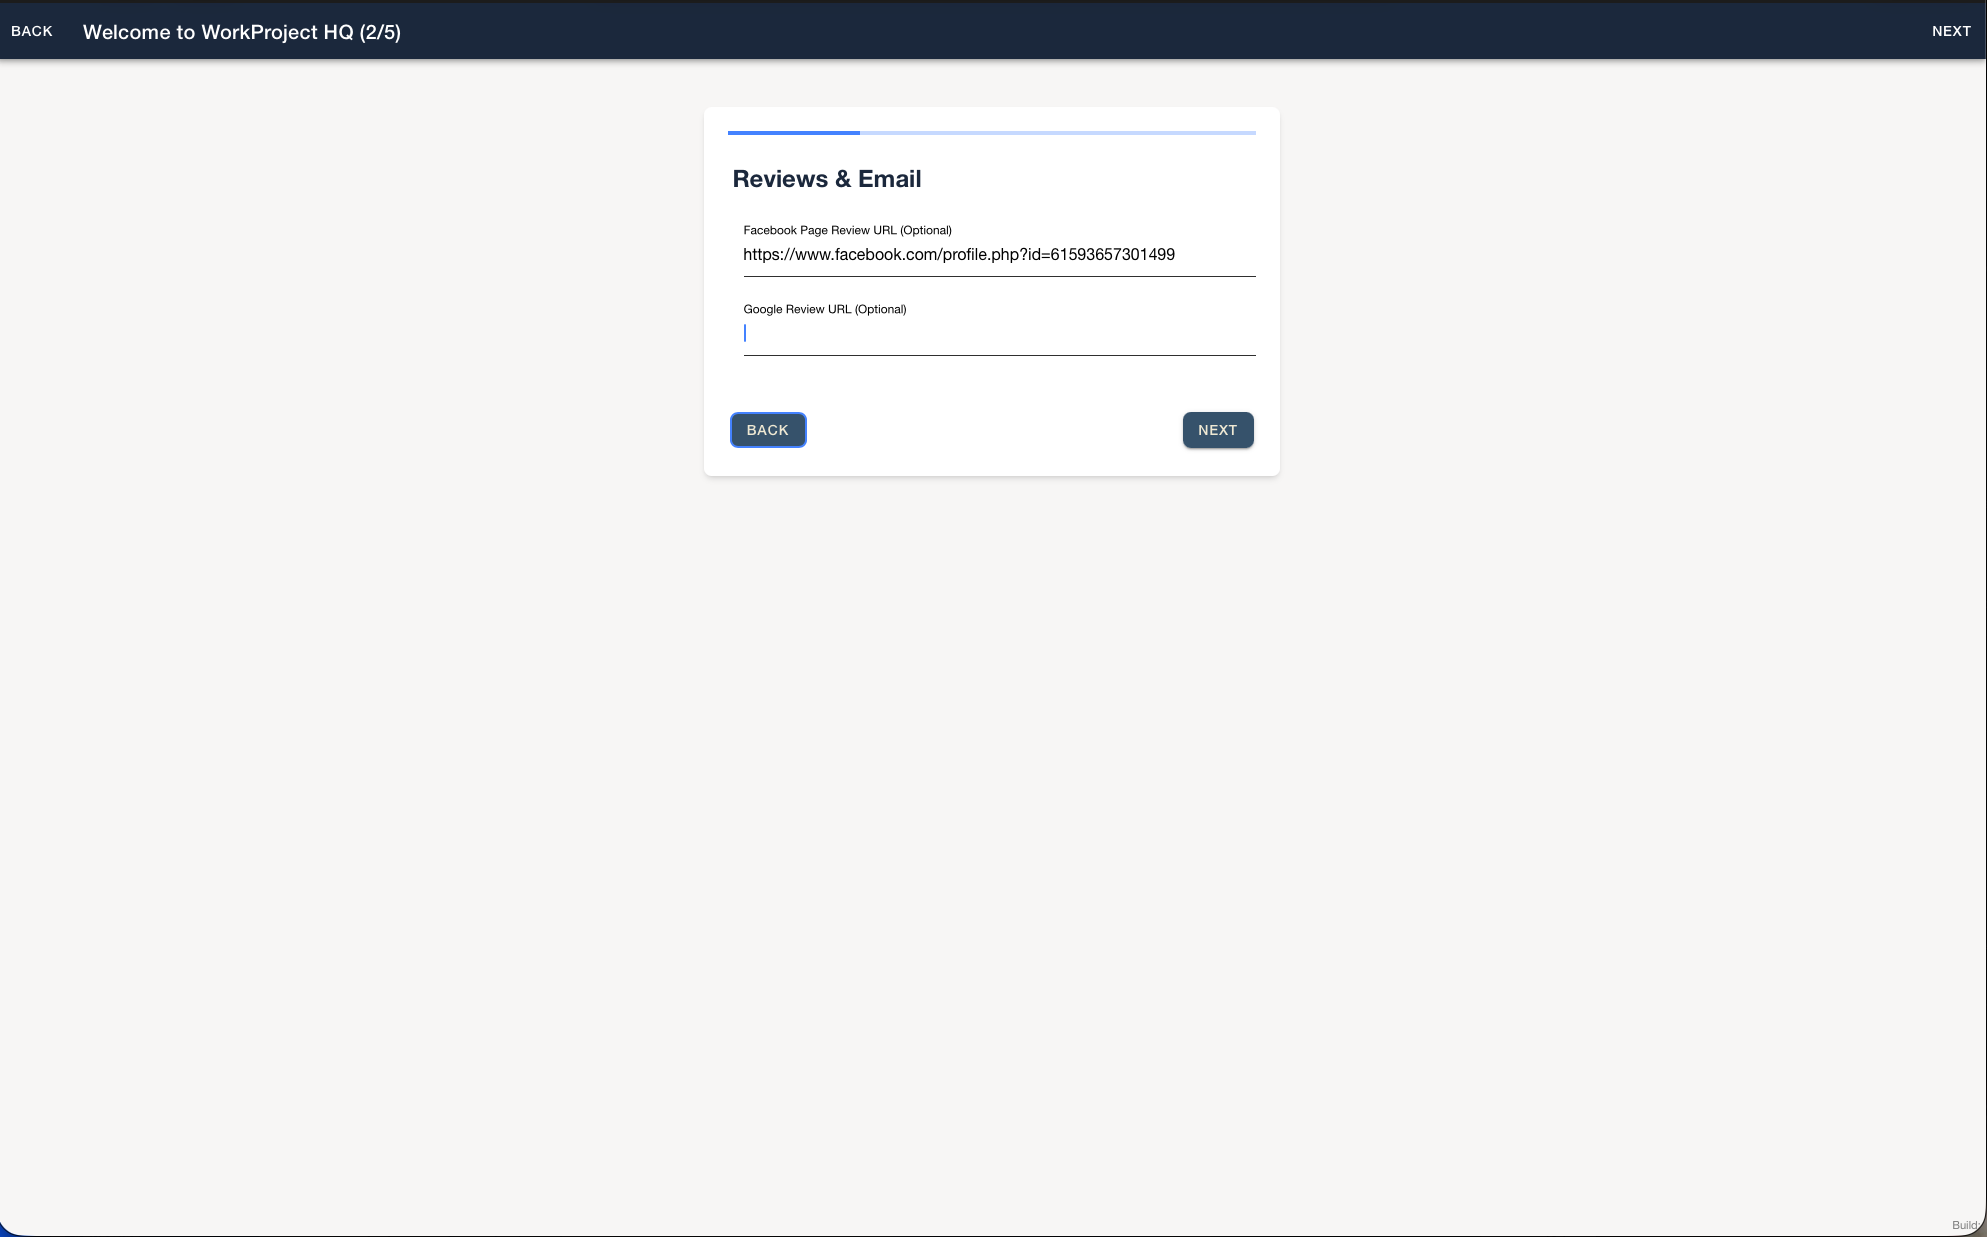
6 - Enter Your Review Links
If you have a Google My Business or a Facebook Business page that has reviews, feel free to add those links. Those will be included in every invoice sent so that way customers can easily be encouraged to leave feedback.
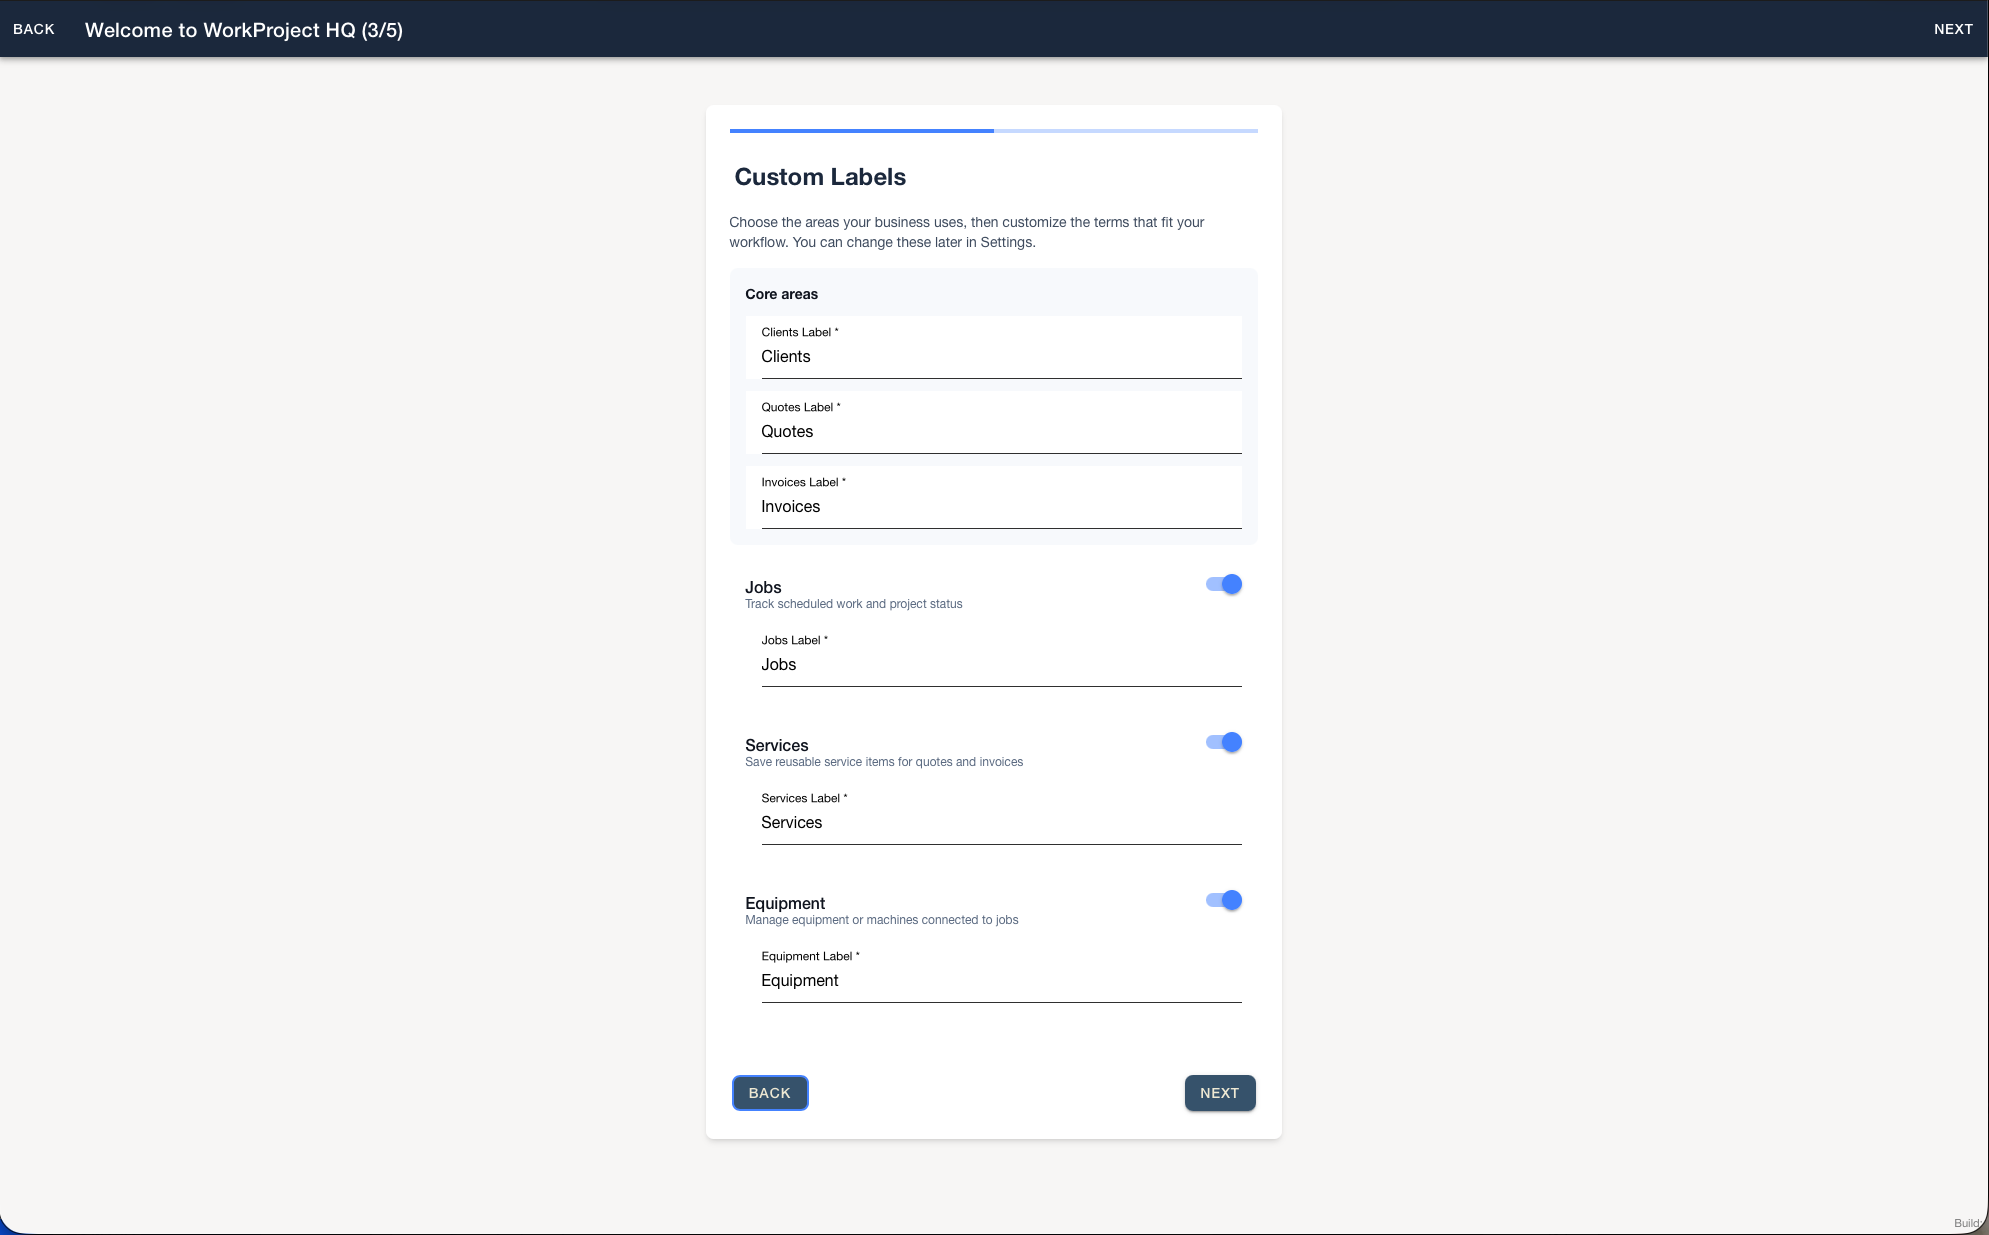
7 - Customize Your Experience
Customize your experience. Select which features you would like to have and what the verbiage is called.
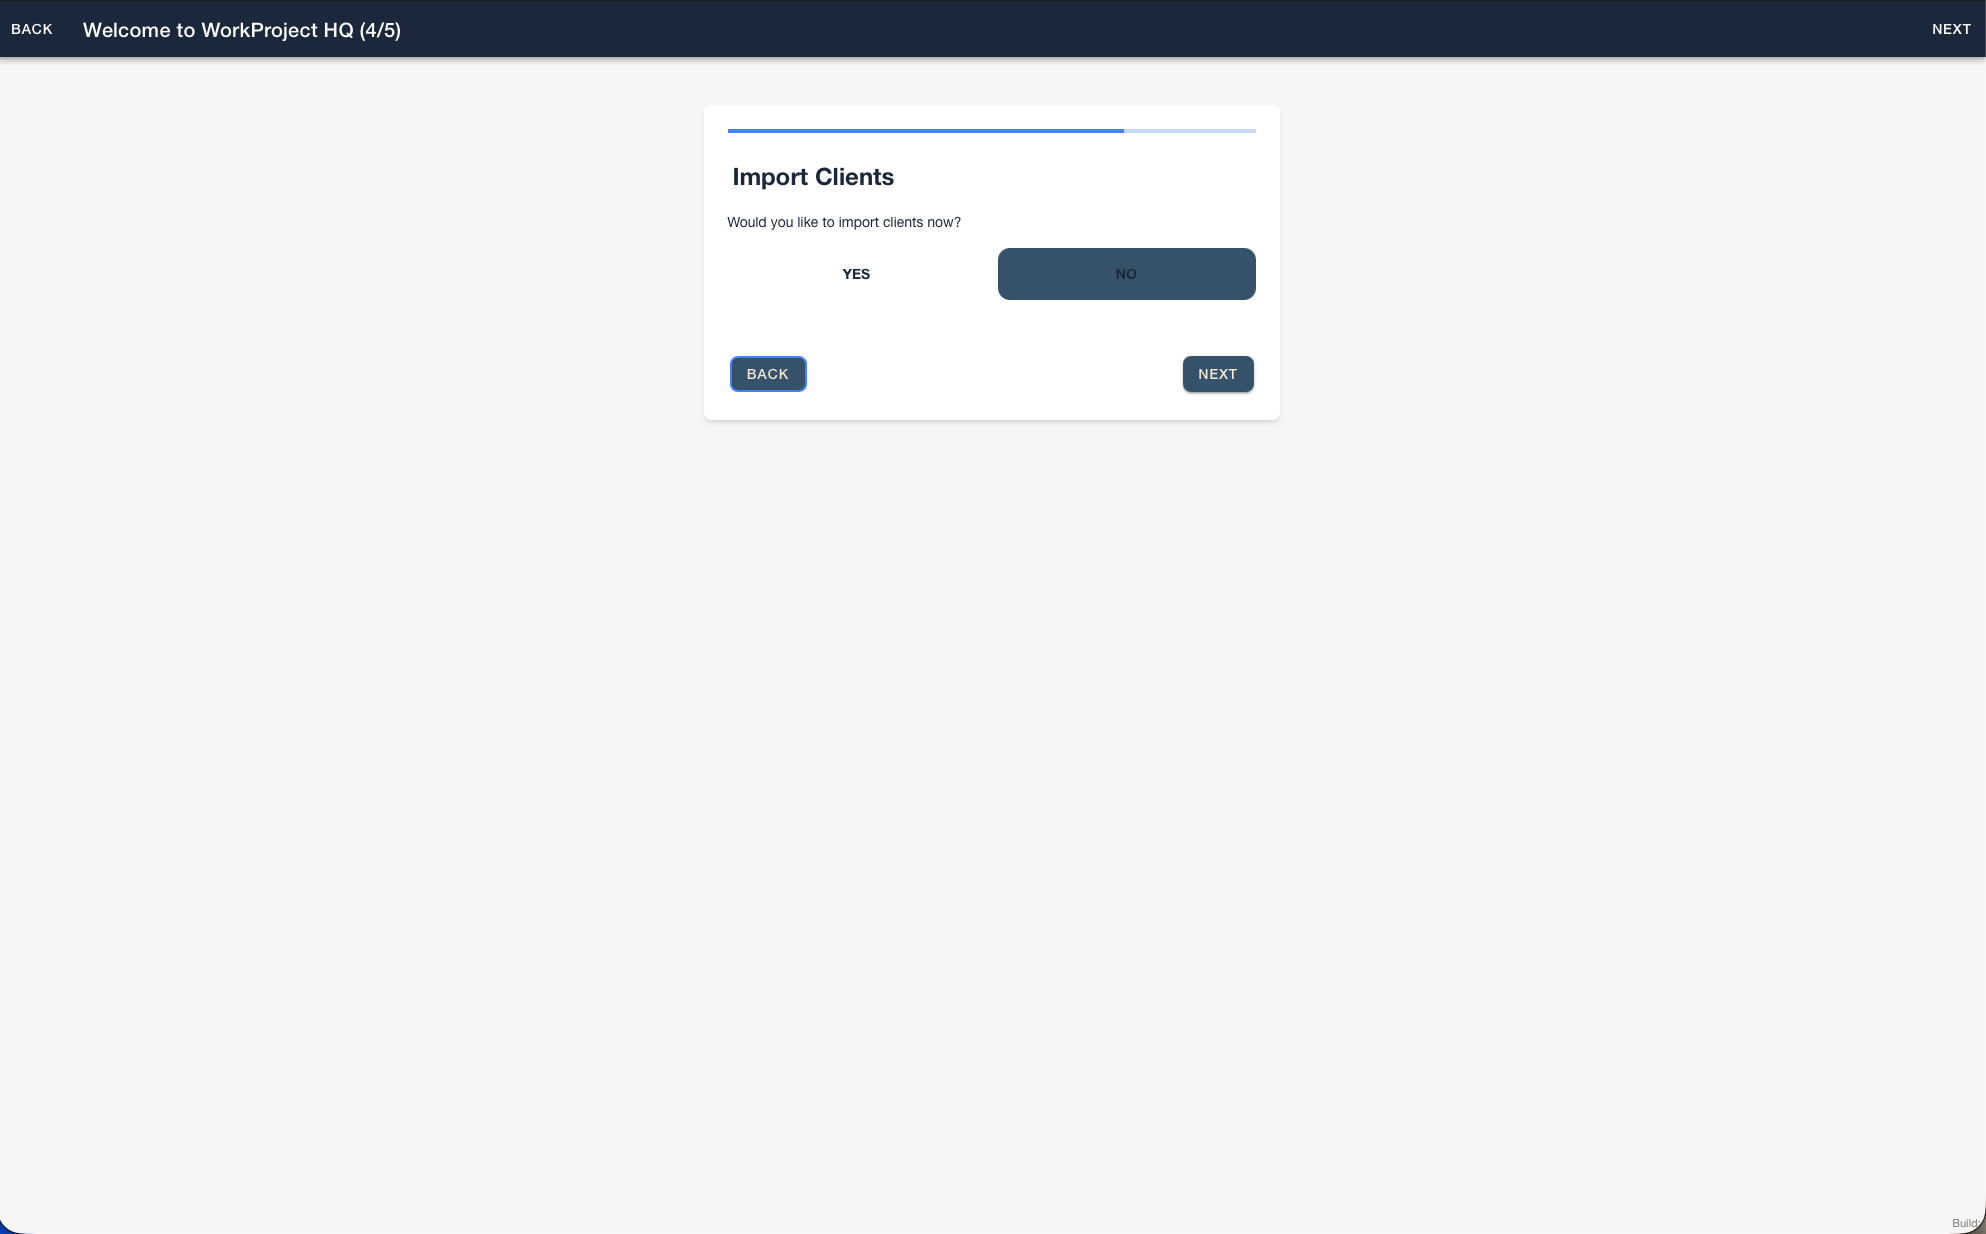
8 - Import Clients
Import clients if you have any.
Click here for a sample file to see how to set up your file to import.
9 - Start
Start. That’s it…you’re ready to use WorkProject HQ!
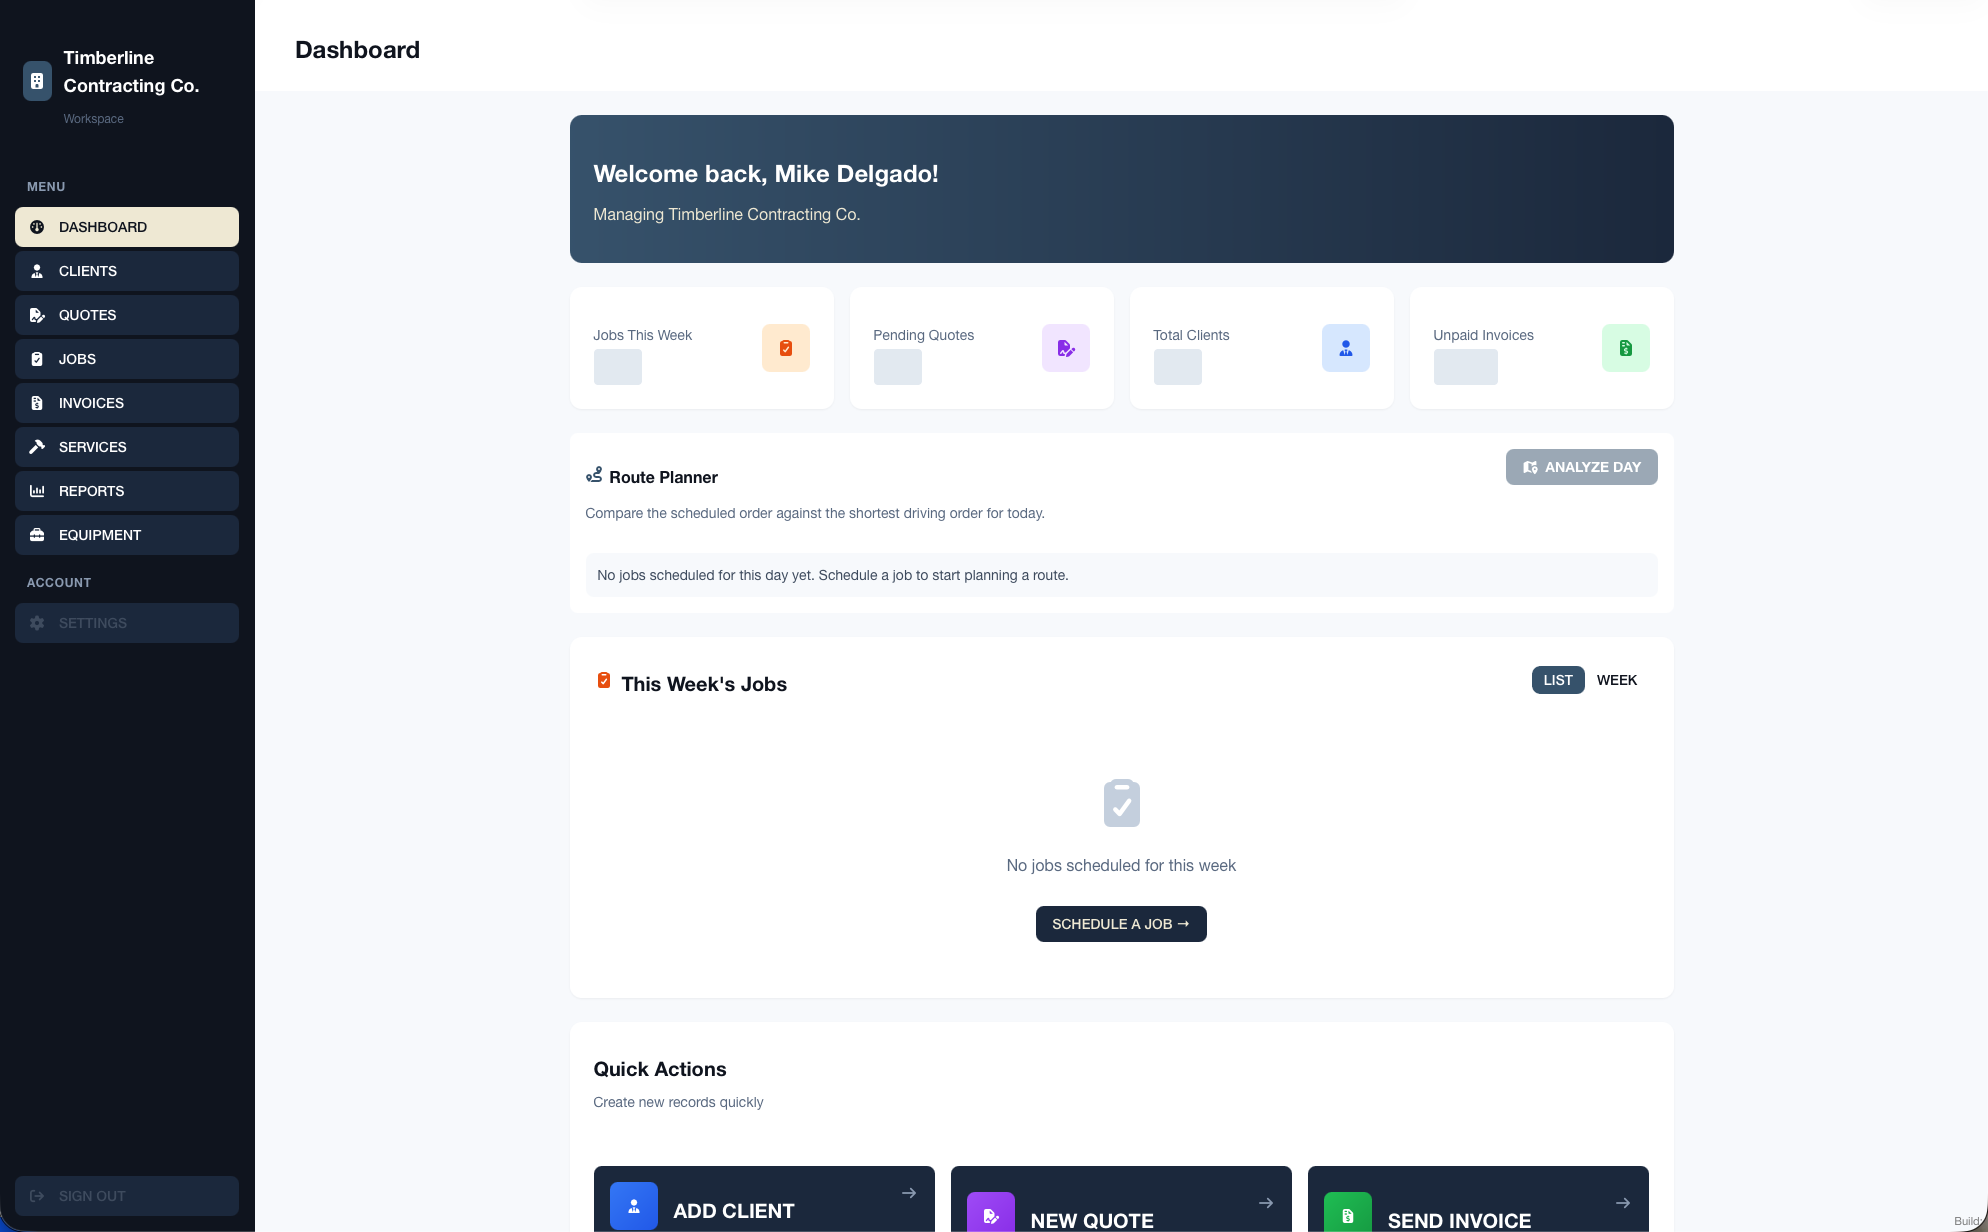
Your account is ready
You can now begin adding clients, creating quotes, and scheduling work in WorkProject HQ.